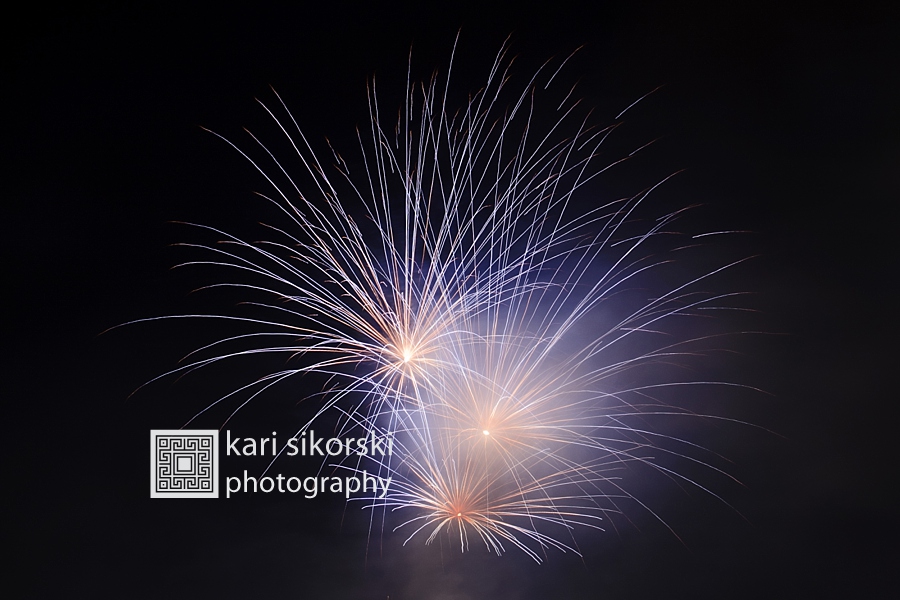
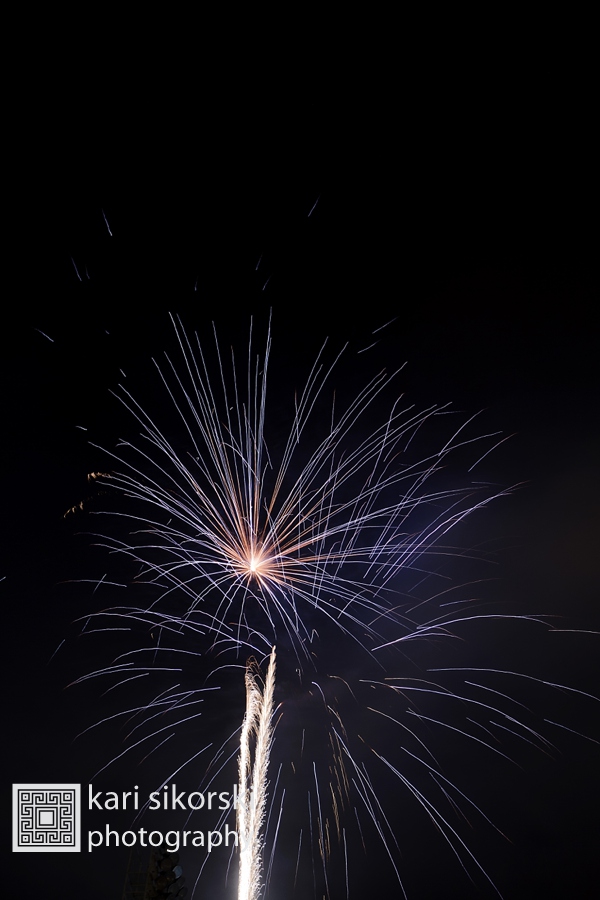
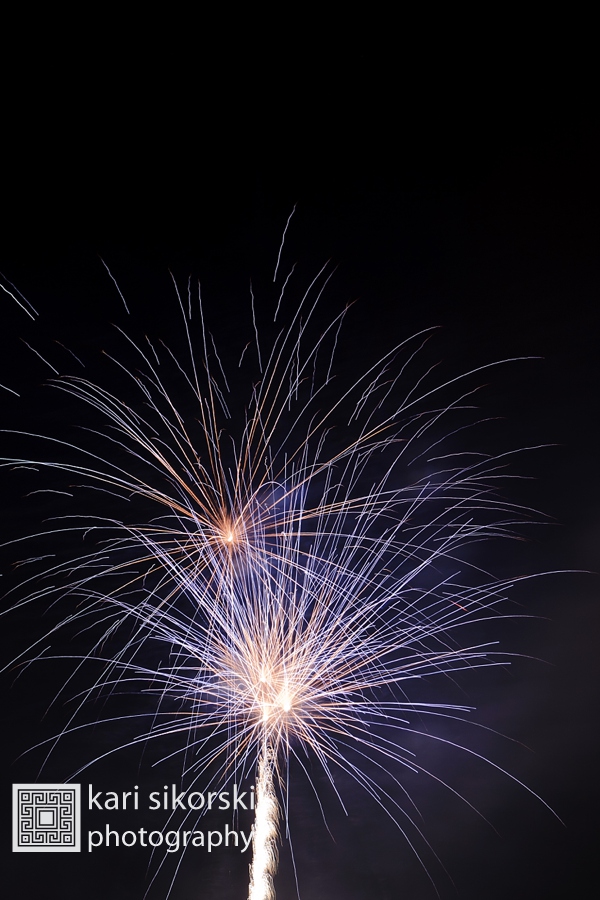
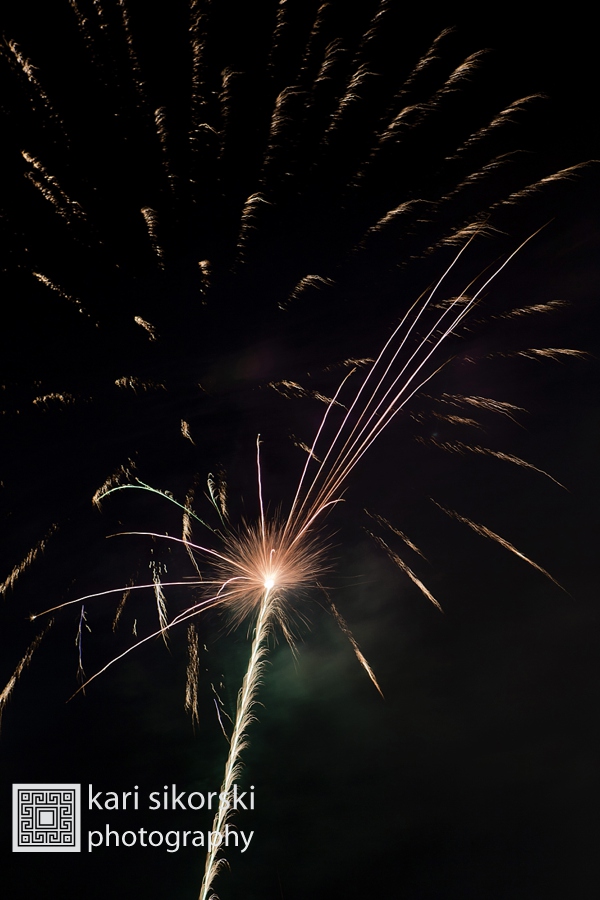
Photographing Fireworks
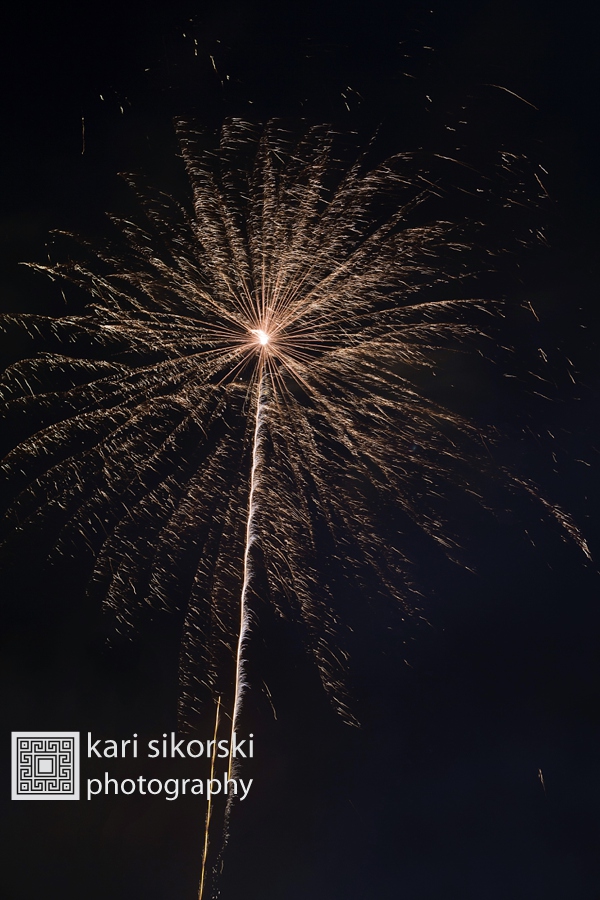
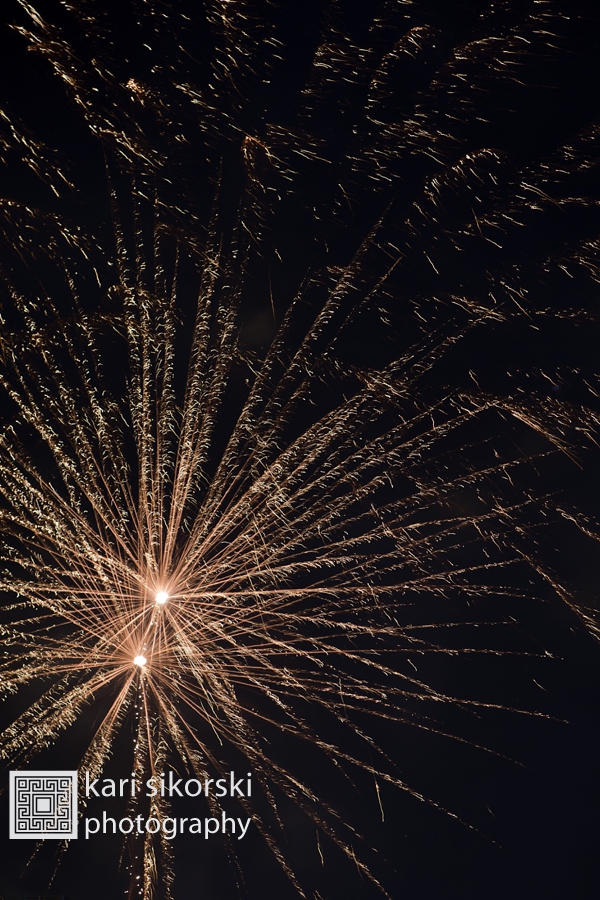
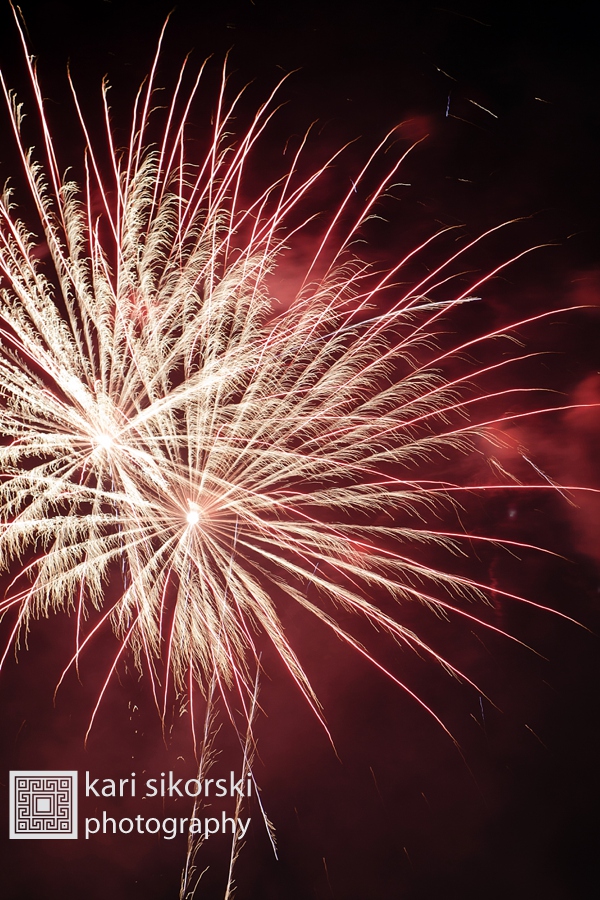
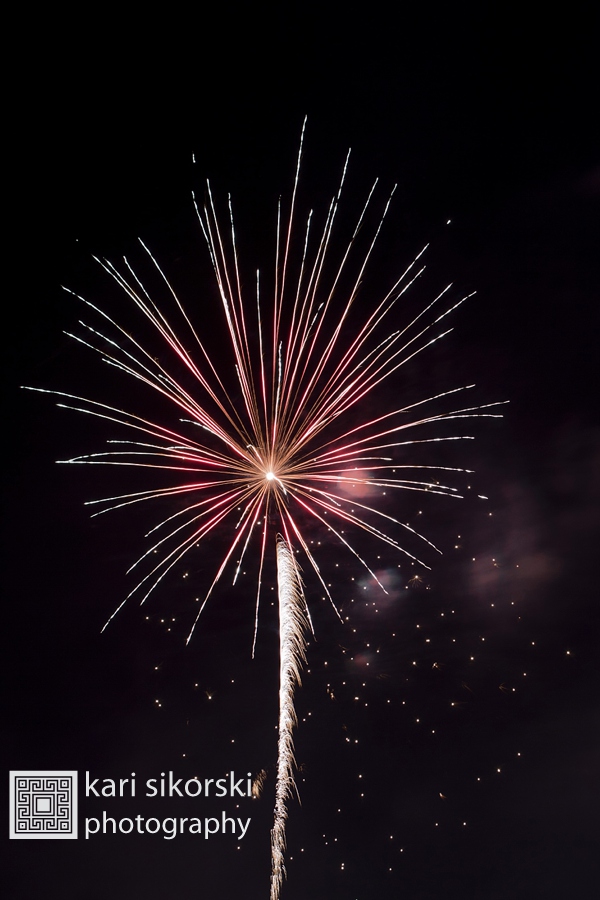
Ever wonder how to photograph fireworks?
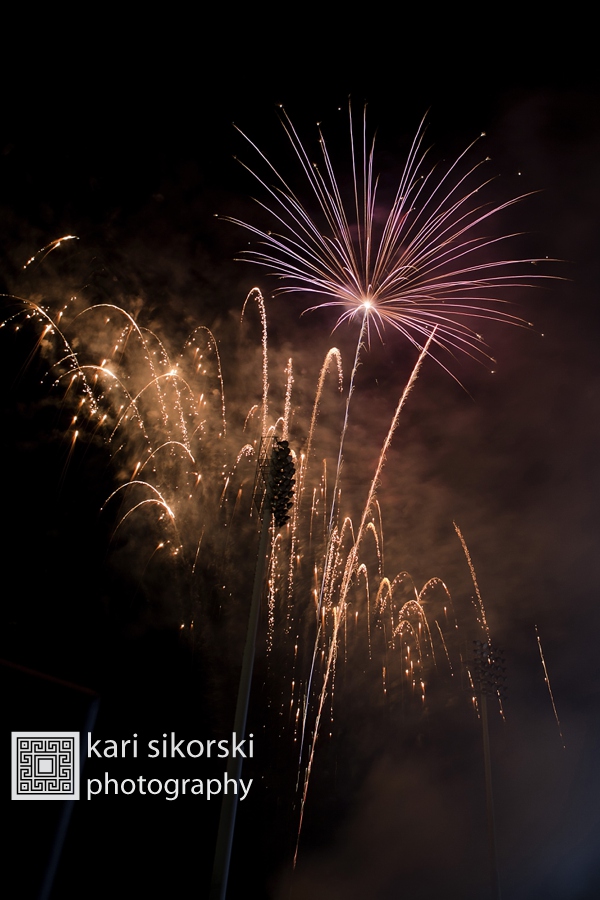
I’ve always wanted to bring my tripod to a fireworks display, and finally had my chance at a Salt Lake Bees baseball game. We were seated in the front row of the upper deck, which was perfect – I could set up a tripod with an unobstructed view.
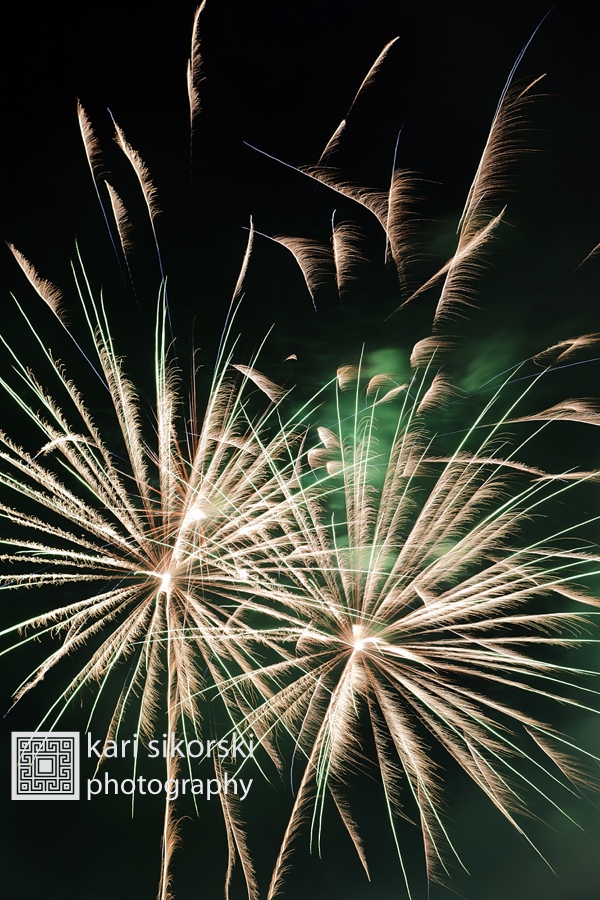
Here are my tips for photographing fireworks… Use them as a starting point and experiment with your settings to achieve the look you prefer. Have fun! ~Kari
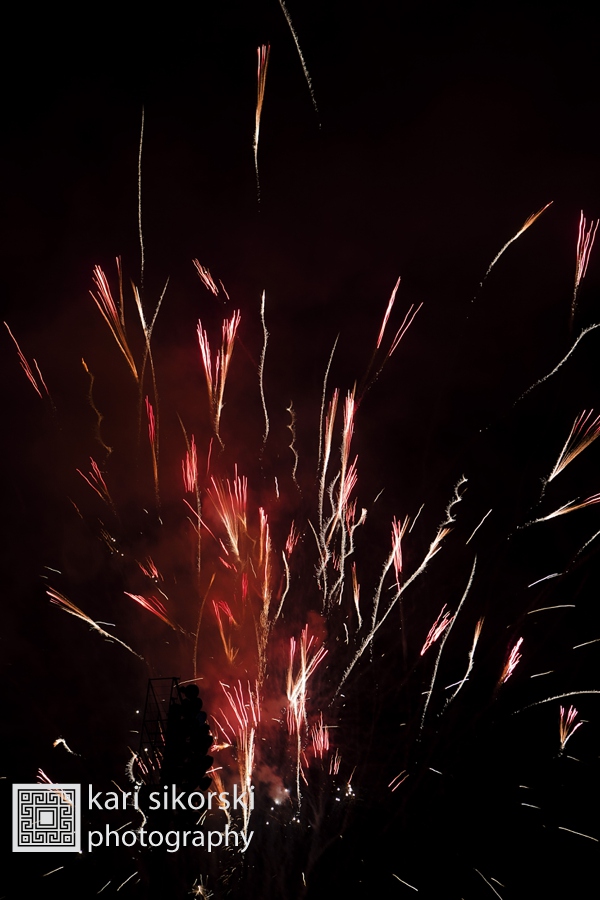
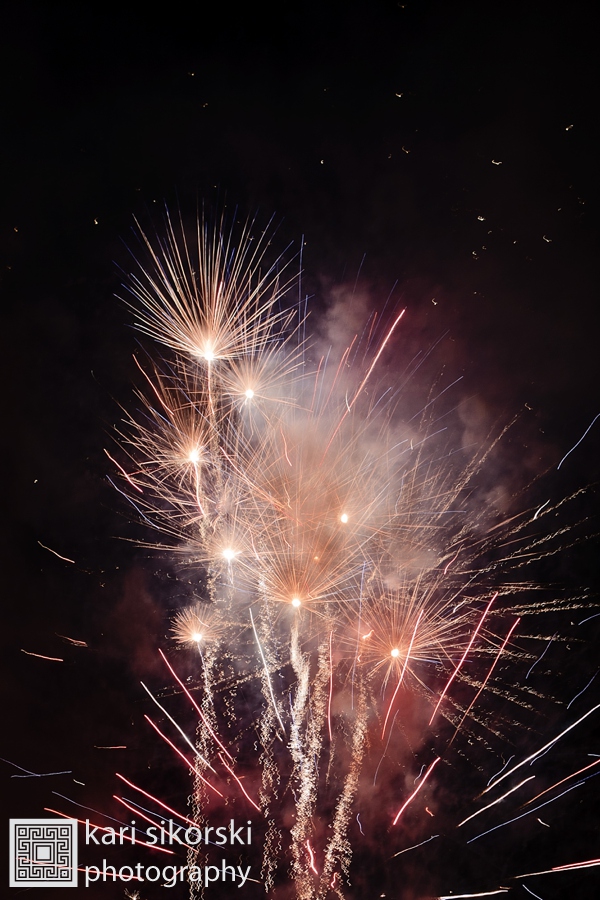
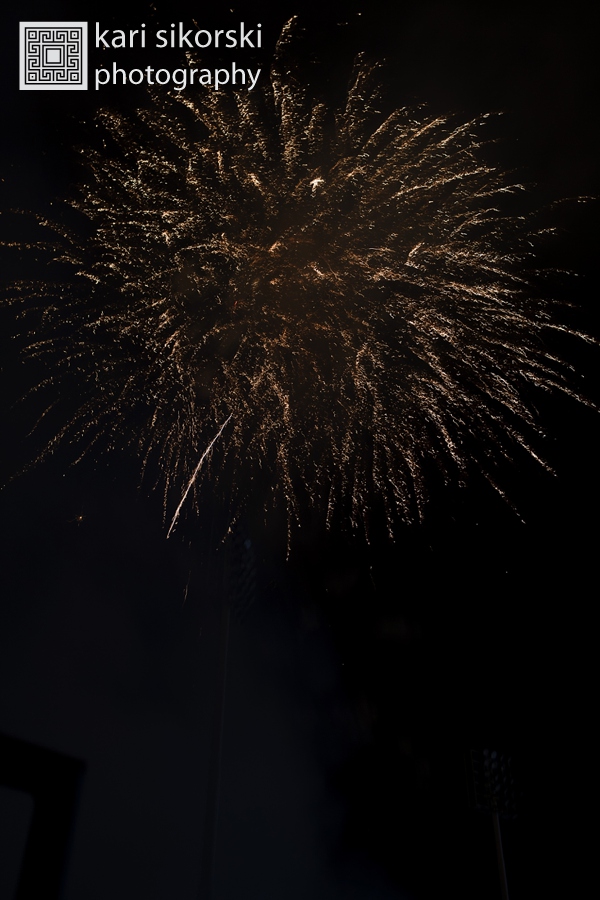
The key is to have a long exposure and keep the camera steady.
1. Use a Tripod
Longer shutter speeds will not only capture the movement of the fireworks but any movement of the camera itself. The best way to keep your camera still is with a tripod.
2. Remote Release
One way to ensure your camera is completely still during fireworks shots is to invest in a remote release device.
3. Framing Your Shot
Scope out the location early – get a good, unobstructed position. Think about what is in the foreground and background of your shots and make sure you won’t have people’s heads in your shots (also consider what impact you’ll have on others around you also). Take note of where fireworks are being set up and what parts of the sky they are likely to be shot into.
Find Out the Direction of the Wind – You want to shoot up wind, so it goes Camera, Fireworks, Smoke. Otherwise the images will come out hazy. Make sure you are ready to take pictures of the first fireworks. If there isn’t much wind, you are going to end up with a lot of smoke in your shot as the show goes on. The first explosions are usually the sharpest ones.
Watch your Horizons – This is especially important if you’re going to shooting with a wide focal length and will get other background elements in your shots (ie a cityscape). Make sure your camera is level on your tripod.
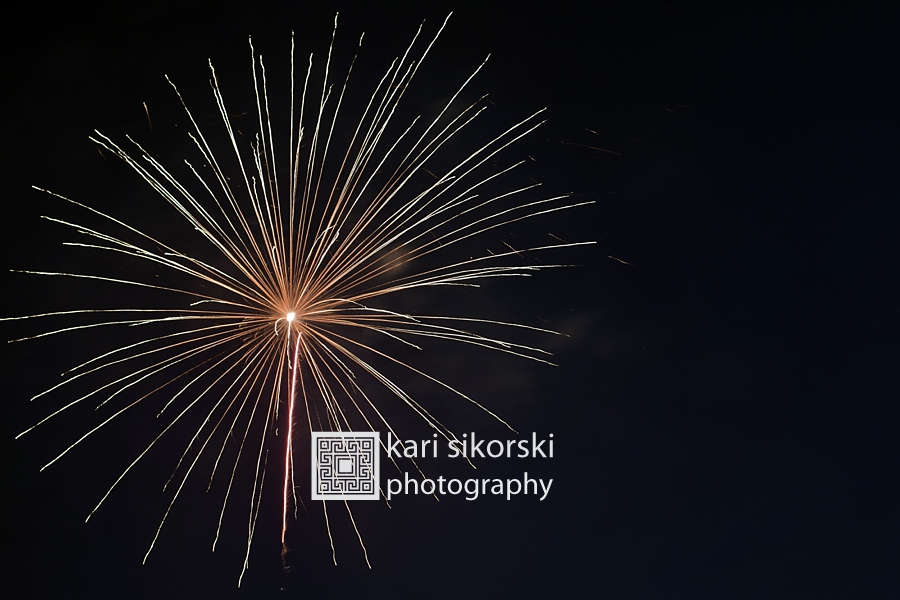
Vertical or Horizontal? Vertical works well because there is a lot of vertical motion in fireworks. Horizontal shots can work if you’re going for more of a landscape shot with a wider focal length or if you want to capture multiple bursts of fireworks in one shot.
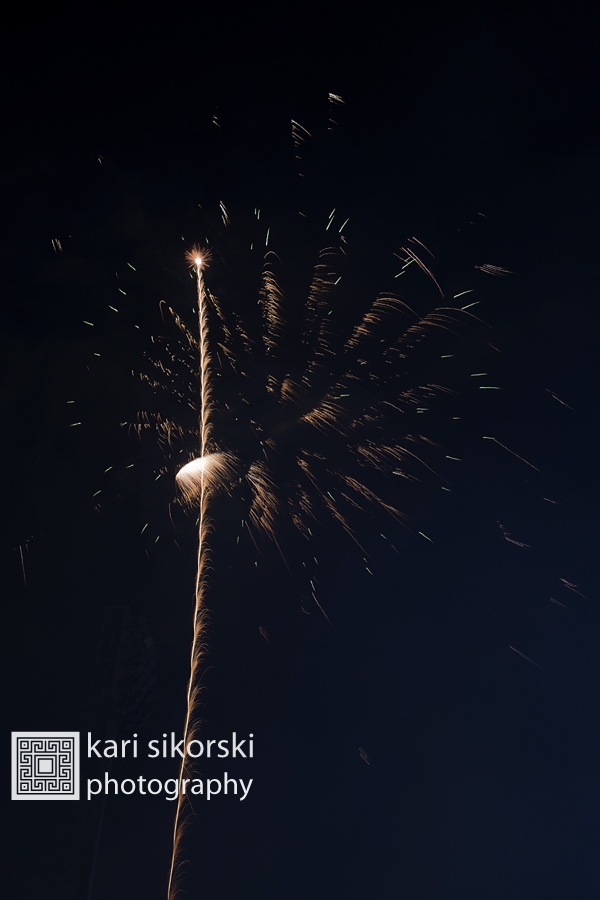
Remember your framing – spend less time looking in the viewfinder and more time looking at the sky. Doing this will also help you to anticipate the right time for a shot as you’ll see the light trails of unexploded rockets shooting into the sky.
4. Focal Length? I recommend using a zoom lens. Wide angle or zoomed in… experiment for variety
5. ISO & Aperture
Set your ISO to 100 – fireworks are bright, and a low ISO has less noise/grain. Set your aperture to f/8.
6. Shutter Speed
Set the shutter speed to Bulb (B) setting. Bulb leaves the shutter open for as long as you depress the shutter release, and it’s a great way to make sure that you capture exactly what you see in the sky because you control when the exposure starts and stops. Hit the shutter as the firework is trailing up into the sky, and hold it down until it’s finished exploding (about 1-2 seconds).
Don’t keep your shutter open too long. fireworks are bright and it doesn’t take too much to over expose them, especially if your shutter is open for multiple bursts in the one area of the sky.
7. Switch off your Flash
If you’re using an SLR, simply lowering the flash and setting the camera to Manual mode will keep the flash from going off.
8. Manual Focus
If you leave your camera set to auto focus the lens will whir backwards and forwards trying to find something to focus on in the black sky and you’ll end up missing a lot of shots.
Set the lens to manual focus and set it to the ∞ (infinity) mark and leave it there. The fireworks will be far enough away that the camera would focus at infinity anyway.
9. Experiment and Check Results
Throughout the fireworks display occasionally check your results, but don’t check after every shot or you’ll miss the show.
When you’re shooting fireworks at night, the aperture controls the brightness of the lights, and the shutter speed determines how long the light trails appear in the photo.
If you want brighter fireworks, open the aperture by making the f number smaller (f5.6).
If the overall photo looks overexposed, make the f-number bigger (f11). Try again until you get an exposure you like.
10. Post-processing—darken the sky for increased contrast
Writing with Sparklers
- Use a tripod and the same settings as with fireworks.
- Practice before lighting the sparkler.
- Instruct your subject to stay as still as possible, only moving their arm to write with the sparkler.
- Have an assistant light the sparkler and step out of the frame.
- Instruct your subject to start moving the sparkler when you say GO and press the shutter – release it when they are finished writing.
- When they are finished writing instruct your subject to stop moving the sparkler so that there isn’t a light trail coming off the word/shape.
- Experiment and adjust settings as needed for more or less light, and shorter or longer trails from the sparkler.
School Photos… tips for success
The new school year has started… children are settling into their new classrooms, and in September school photos will be taken in many schools around the country.
Everyone has a funny story about one of their own school photos. I cut my own bangs at a 45 degree angle just before my Kindergarten school photos. I know my mother was horrified at the time, but we laugh about it now and that photo is priceless to me.
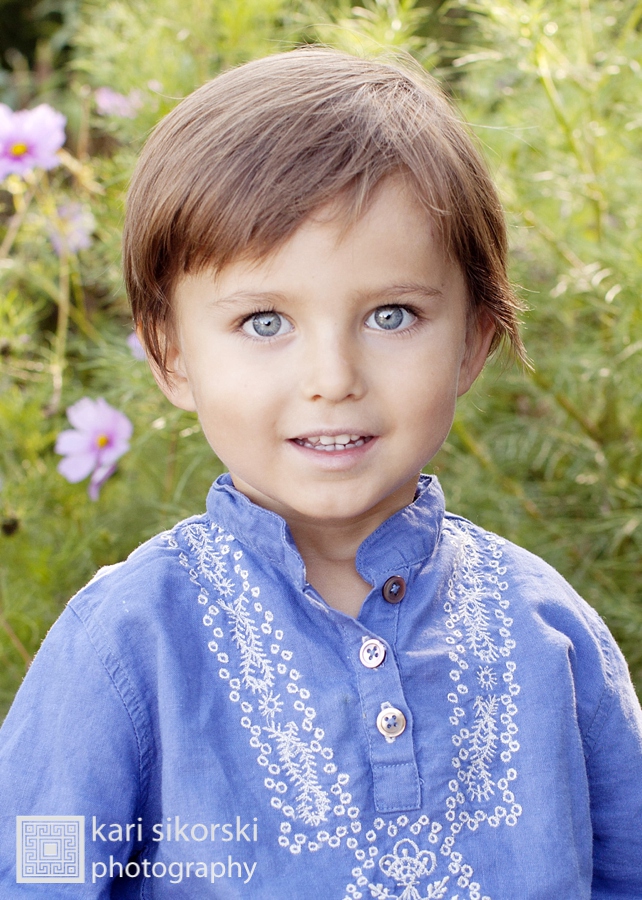
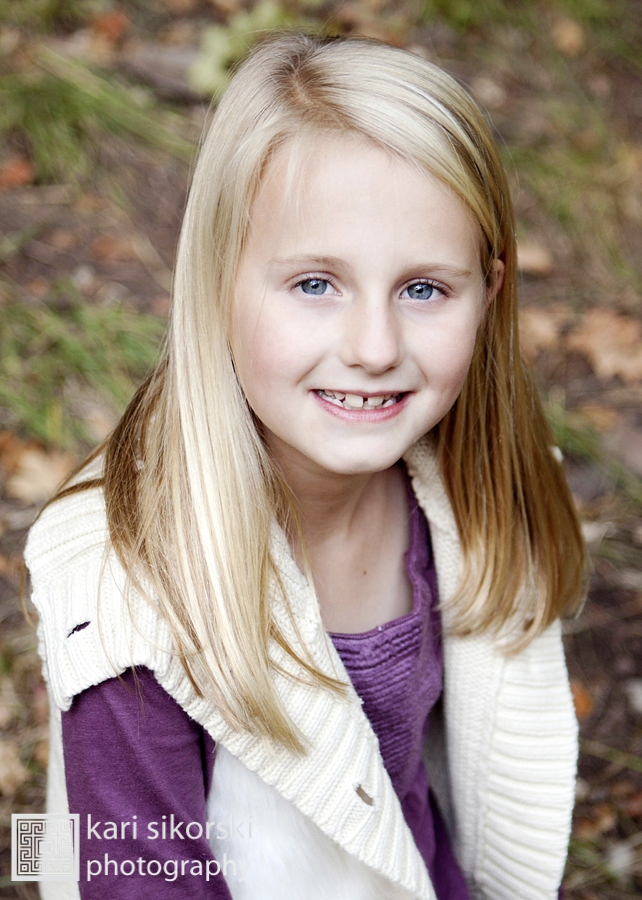
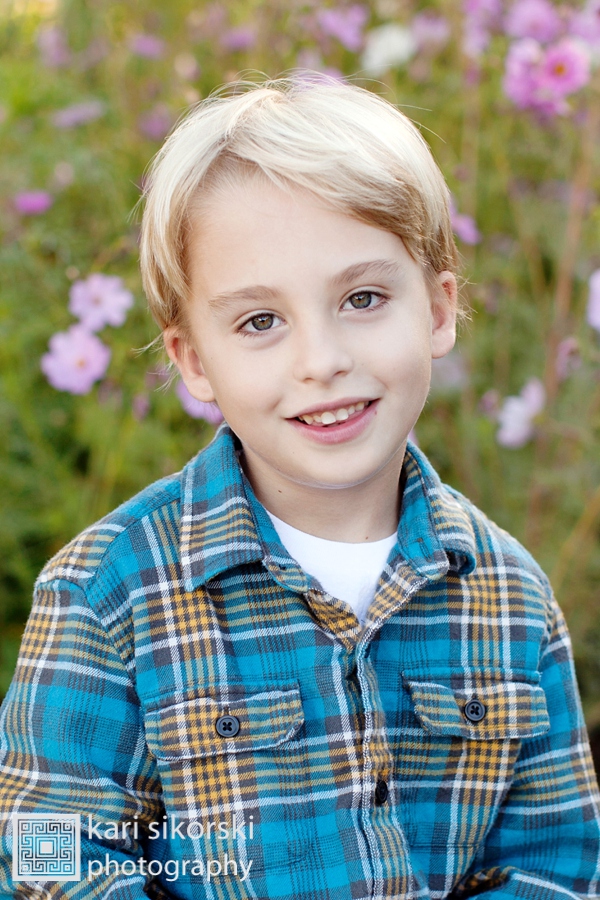
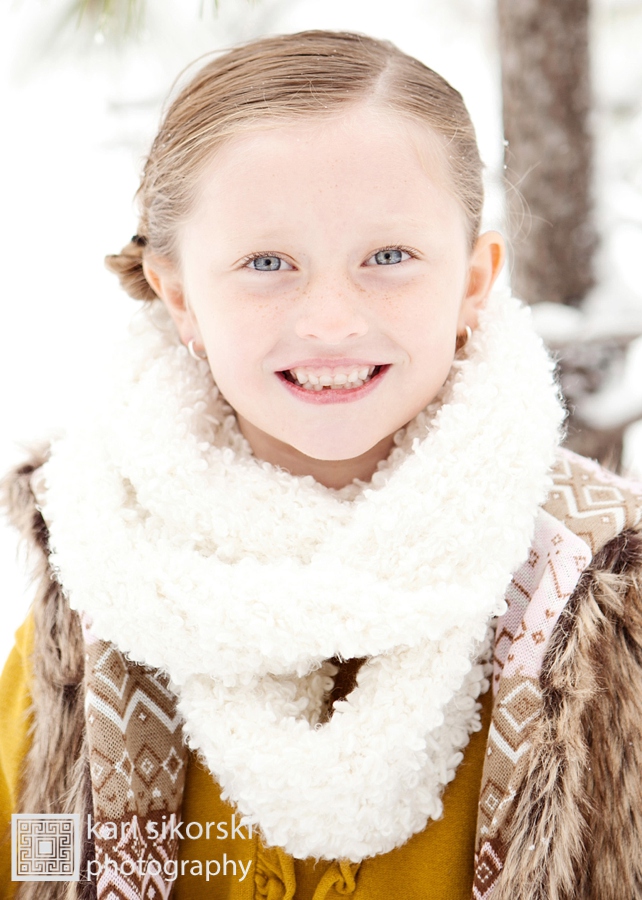
As a family photographer who takes student, class and staff photos for 2 private schools, and a mother of 3 boys, I’ve compiled some tips to help you prepare for your children’s school photos along with some of my favorite images. Many of these tips work for teachers as well!
Tips for Great School Photos
Clothing:
Avoid logos, slogans, even large images of a person, cartoon or animal. They are distracting & take away from the subject. Cropping can cause words & images to be cut in half anyway. Let the focus be on the subject.
Plan your outfit ahead of time. Make sure it is comfortable and fits properly.
What works best: solids, simple patterns, darker colors vs. white & pastels which can wash you out. Colors that bring out your eye color look great!
If you know the background color ahead of time, wear a color that compliments it, don’t match it or you’ll be a floating head.
Grooming:
Haircut – cut it at least a week ahead of time. Give it a chance to grow out just a bit, and yourself time to learn to work with a new style.
Hide the scissors from your little ones – every year in the school photos I take, I have at least one kindergartener that has cut his or her bangs themselves.
Special instructions:
Send them in a note either attached to the photo form, or give it to the teacher directly. Examples: glasses on/off, jacket or sweater zipped or buttoned up or left open, etc.
Acne – many school photographers offer touch up services for a small fee. This would be easier in many cases & the end result will look more natural than going overboard with concealer.
Other options:
If you would rather forgo the school photos – have your family photographer take individual photos of your children during your family portrait session & order them in wallet or small sizes to share with family & friends.
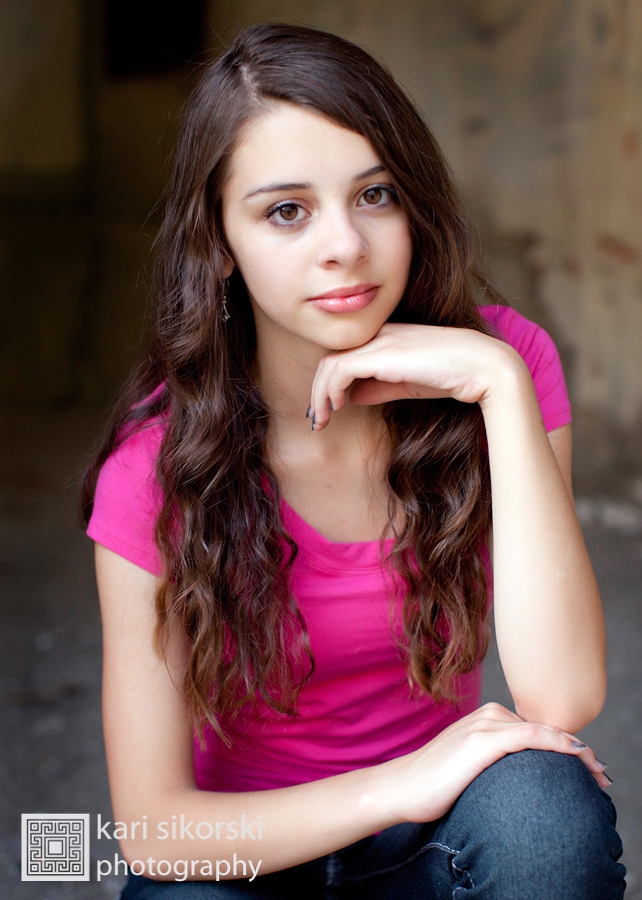
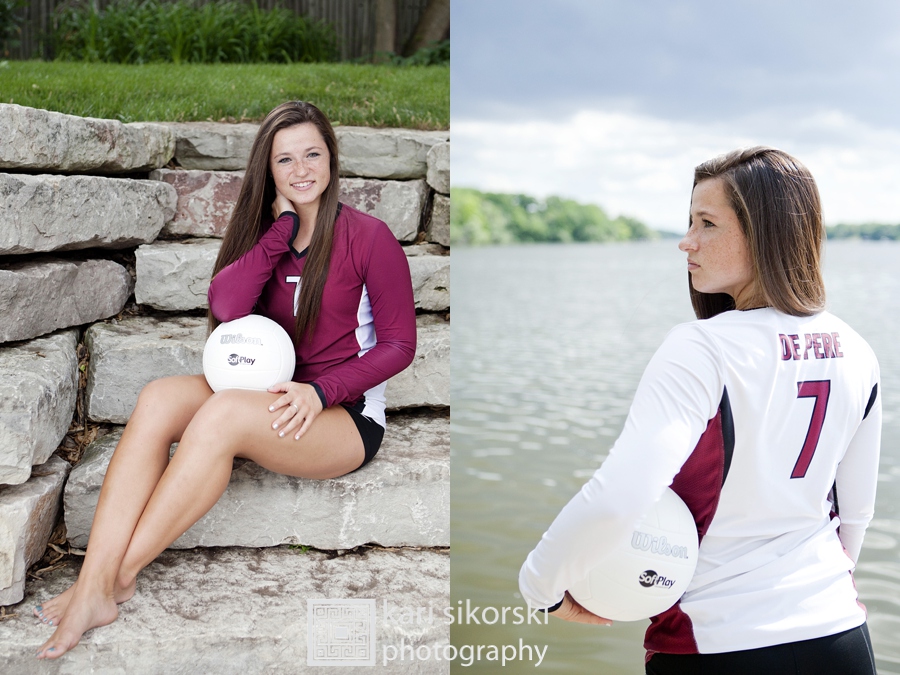
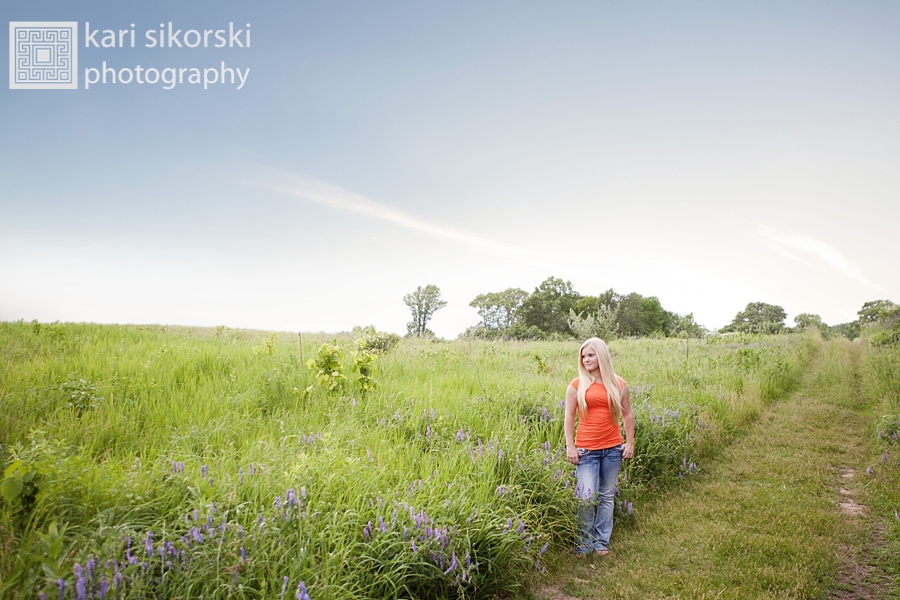
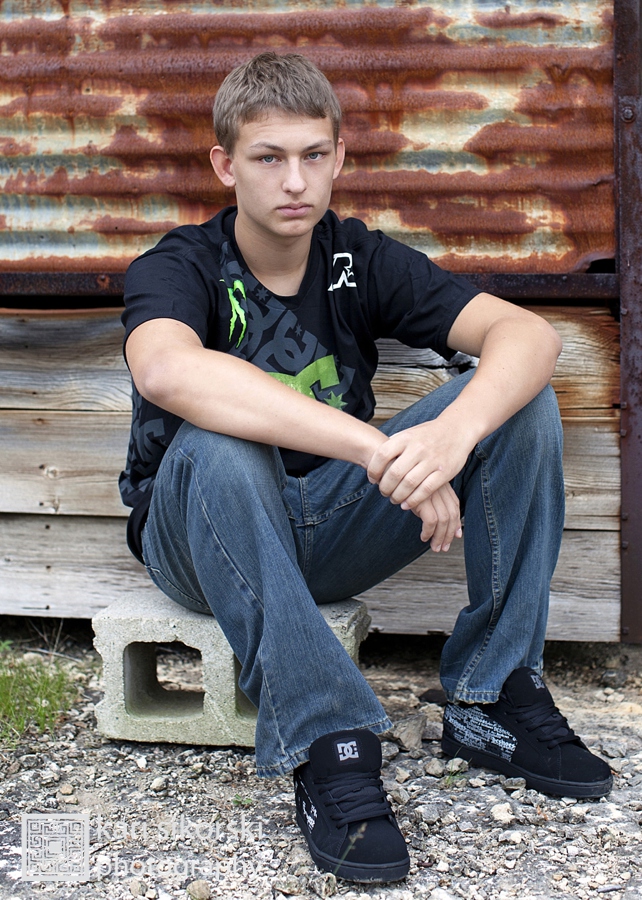
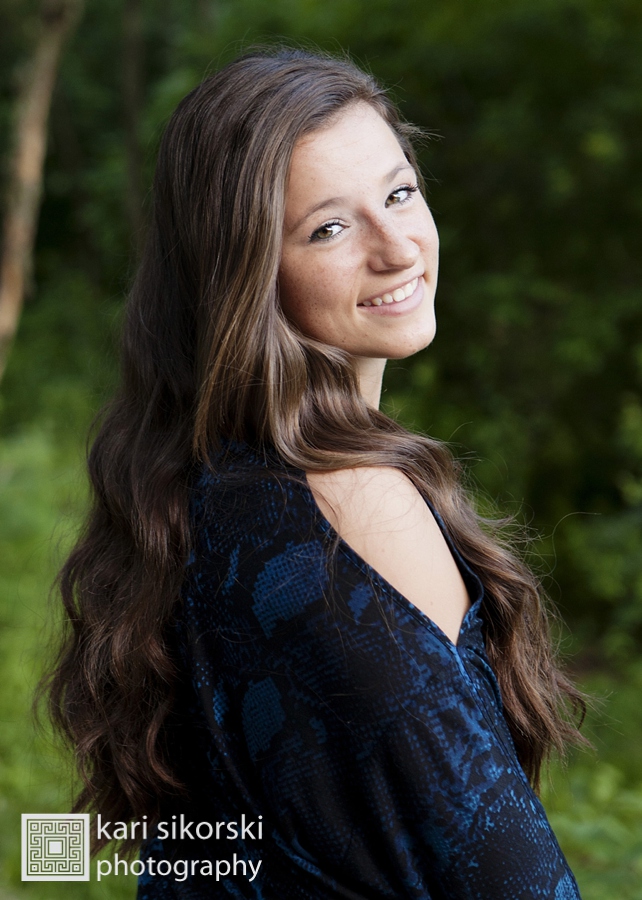
High School Senior Photography is all about bringing out the personality and style of the student, and sessions are personalized just for them. I love shooting these sessions… they are a lot of fun and capture a special time in their lives as they are looking towards their bright future.
While many of the tips above may still apply, there are others that are more specific to this age bracket and style of photography, so I will consult with clients to make sure that the photographs truly express who they are. Seniors are encouraged to bring multiple outfit changes, accessories, jewelry, items to represent their interests (ie. sports, music, hobbies, etc.). Girls may opt to have their hair and makeup professionally done. Locations are discussed – I love that part & have many favorites to choose from.
Final Tip:
After all of that advice, remember to embrace who your child is right now and let their school photo reflect that. The goal in the end isn’t really a perfect picture, it’s a memory of who they were at that age.
A gift certificate for custom portraiture is the perfect gift.
Utah Family Magazine 2010 Readers’ Pick: Kari Sikorski Photography
Utah Family magazine just announced their 2010 Family Favorites in their August issue.
The Reader’s Pick winner for Favorite Family Photographer… Kari Sikorski Photography!!!
I want to send out a HUGE Thank You to all of my fabulous clients & to Utah Family magazine! I am very honored, and smiling so big 🙂 I love what I do, and it is so nice to hear that others love it too.
Thank you!
Style Me Pretty
Kari Sikorski Photography is featured in Style Me Pretty !!!
Style Me Pretty is the ultimate wedding blog, full of wedding inspiration, creativity and ideas for brides. “OBSESSIONS for BRIDES” is their tag line, and you will understand why when you look through post after post of incredibly beautiful and imaginative ideas!
“I work with a TON of great photographers. Some have been around a while so their skills and perspectives are really honed, really unique. Others are new and are constantly experimenting with different style and ideas. But I don’t think that I’ve had the chance to see the same wedding or space photographed by so many different artists. It’s amazing to me that each photographer behind Jessica Claire’s Photography Workshop, approached the same details, the same touches…so beautifully different.”
~ Abby Larson, Style Me Pretty
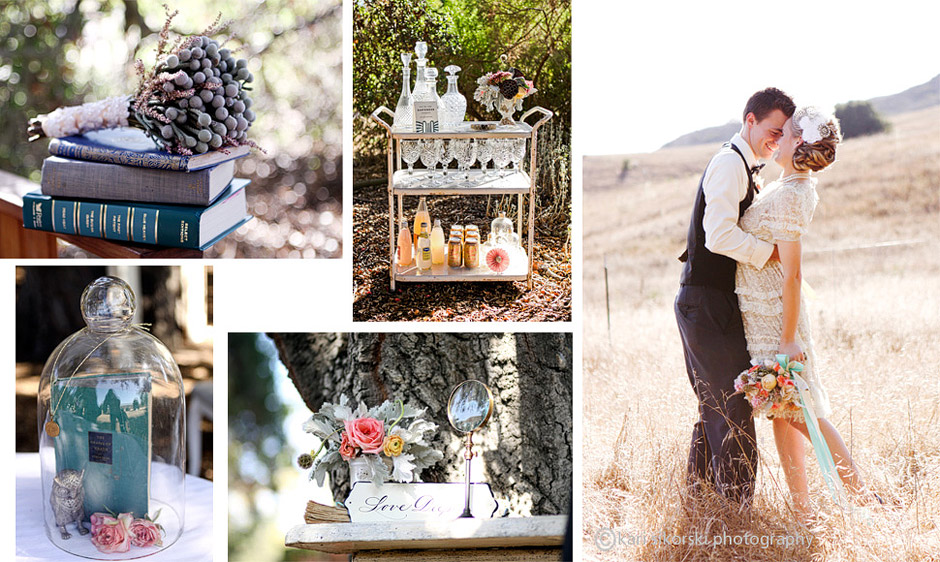
I am SO excited to have some of my photos from the Jessica Claire workshop featured showing off the amazing wedding details created and set up for our shoot that day! To see all of my photos from the workshop, click HERE.
A Huge thank you Summer Watkins of Grey Likes Weddings and floral designer Lauryl Lane for submitting my pictures!


